DIY Lash Extensions
*Please note that the links in this post are affiliate links, and at no additional cost to you, I may earn a commission if you decide to make a purchase after clicking through these link. Just Glow Glam Girl Beauty Co is a participant in the Amazon Services LLC Associates Program, an affiliate advertising program designed to provide a means for sites to earn advertising fees by advertising and linking to Amazon.com
Have you heard about DIY Lash Extensions? Have you tried them? Although the name makes them sound a little complicated, I PROMISE you they’re the easiest thing ever! They take minutes to apply, and since they last at least a week… they make my morning routine a breeze!

Now, I have loved lashes for years, so much that I created my own brand! My love for lashes started about 6 years ago- I was a Mom of a 3 year old and soon to be a mom of two. I was pregnant and struggling with self care and body image. I was in full on Mom Mode and as a mom of two littles I felt guilty for doing anything for myself. So I started playing with makeup and lashes as a small way to help myself feel better and it really worked! I found taking a few minutes to pamper myself in the morning really helped change my mood, and my confidence! Lashes became my favorite beauty tool because they boosted my confidence so much! I started wearing strip lashes daily and eventually decided to take my passion to the next level by turning it into a business!
Click HERE to shop
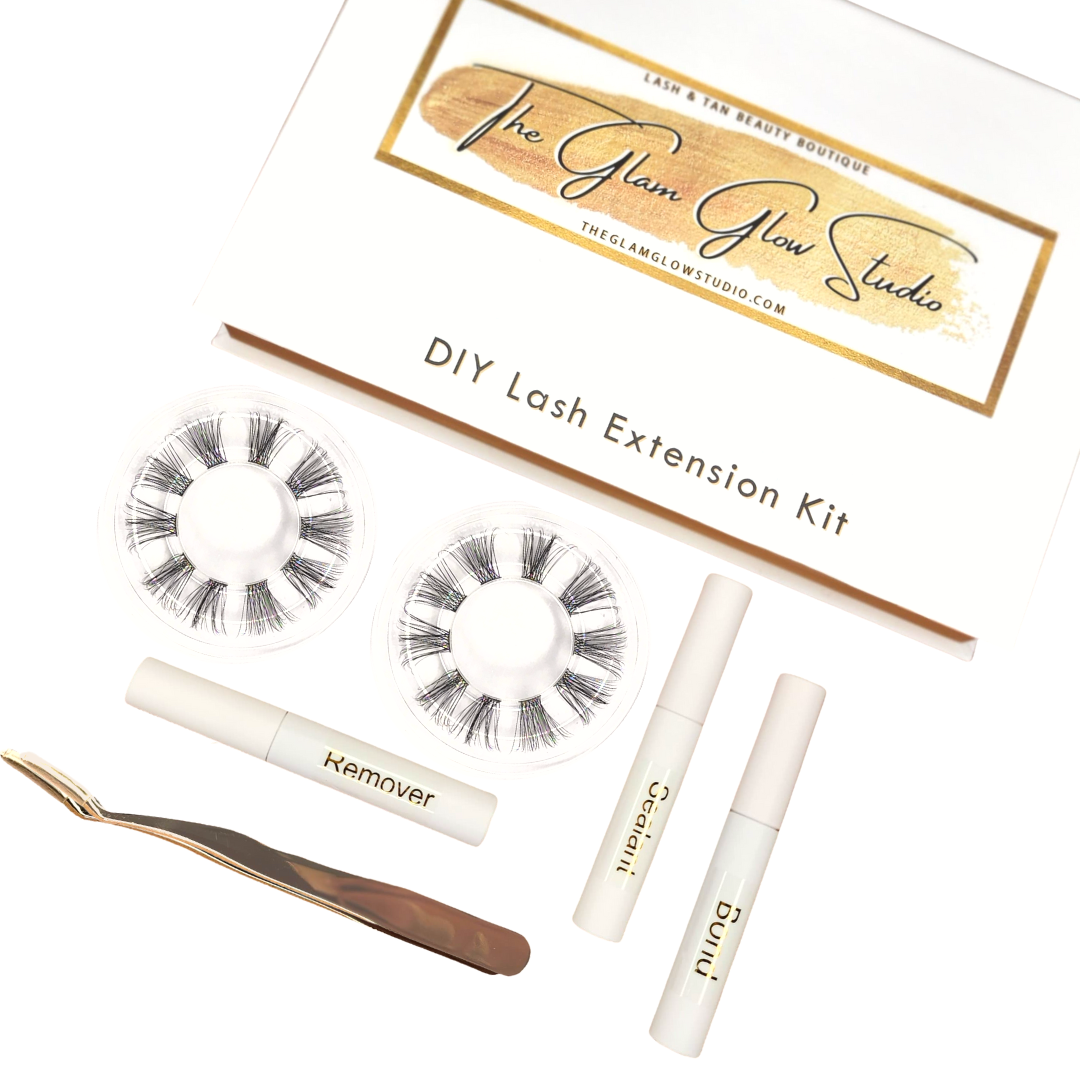
DIY Lash Extensions!
So although I might be a bit bias when it comes to lashes… Lashes are something I am very passionate about! I have a carried strip lashes, magnetic lashes, magnetic liner lashes, and I’ve even became a certified Lash Extension Technician! Out of all the lashes I’ve worn and sold and applied… DIY Lash Extensions are BY FAR my favorite kind!

One of the reasons I LOVE these lashes is because they’re SO EASY to apply! Whether you’re a professional lash wearer OR a complete newbie, these lashes take minutes to apply and because they last 7-10 days, they help to take the mascara/lash process out of your morning routine! These lashes are water resistant and made to be slept in so my morning makeup routine is literally a 5 minute face because of these lashes! I wake up, shower, wash my face, and add tinted moisturizer, blush, bronzer, highlight… DONE! The Lash kit comes with everything you need for 2 applications and is available through Amazon!
Click HERE to shop DIY Lash Extensions!
How to apply in 3 easy steps- You can scroll up to see a video tutorial or refer to the image. The first step is to apply bond to your lashes. This part is as easy as applying mascara! If you’ve ever done that, then you’ll have no issues applying the Bond Glue to your lashes. Let it dry a few seconds before moving on to the next step.
The next step is to take the tweezers included in your kit and pick up a lash segment. With STRIP lashes the glue goes on bottom (under) the base of the lashes and applied to the top of your natural lashes. BUT because these lashes will be applied UNDER your natural lashes, you will apply the glue bond to the TOP of the base of the lash cluster. Make sure to let that dry just a few seconds so it will grab to the bond on your lashes more naturally. Then apply the lash cluster under your lash and repeat until the eye is completely lashes!
And the third and final step is to apply the sealant. Apply this as close to the base of your lashes as possible but be careful not to get this in your eye, it will sting! Once you have finished this step, make sure to keep your lashes dry for 24 hours and your lashes should be good for up to 10 days! If for any reason you need to remove your lashes, the remover is included in the kit as well! Just apply generously to your lashes and gently rub lashes off!

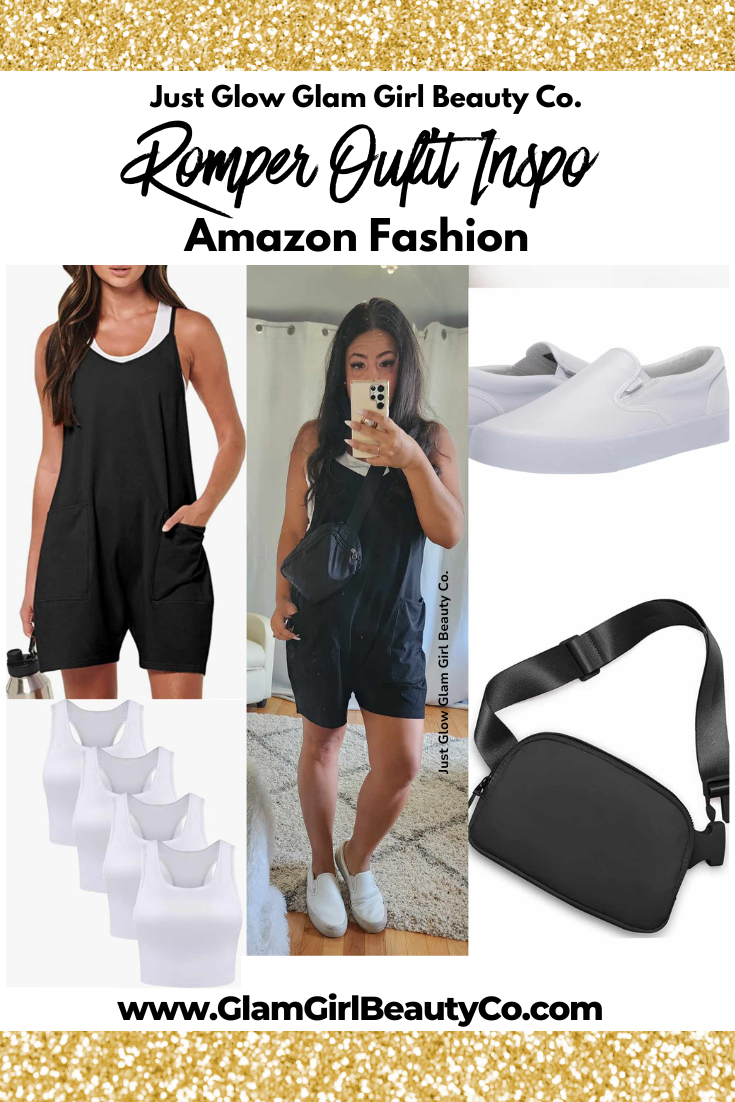
Click Below To Shop My Favorite Amazon Fashion


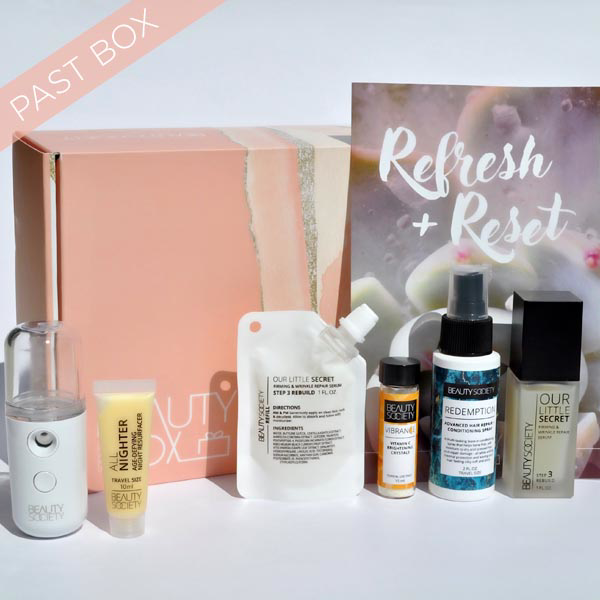
Click Below To Shop My Favorite Beauty Products